
I really love meals that I can prep a day ahead – especially when everything is cooked on one pan that I cover with foil, making clean-up a breeze. Sheet pan meals are all the rage now and I have been trying a few of them out, including a Honey-Sesame Tofu with Green Beans that I now have my husband making. I came across this chicken recipe in the Parade Magazine that accompanies my Sunday newspaper. Its provenance is from a new cookbook by New York Times Columnist Melissa Clark called Dinner: Changing the Game. I made a couple of small changes but the biggest change came because my husband ended up having to work late last night so everything was prepped yesterday and marinated in the fridge for a day. I can only believe that it improved the wonderful flavors and made tonight’s dinner a snap.
Harissa is a North African-style chili paste that is now available in many supermarkets and online. There is both red harissa and green harissa. Either would work here, but I used the red. How much you use will be a matter of personal taste as well as the heat of the particular brand of harissa that you are using. I like a lot of flavor, but I don’t like my food so hot that all I am tasting is heat and nothing else. The 2 Tablespoons of harissa that I used produced an intensely flavorful dish with just a little heat. You could easily increase the amounts to make this for a crowd. You must use fresh herbs here and a good Greek yogurt. This recipe is definitely a keeper and one that will appear on our rotation many times. I only added a simple salad to complete the meal. 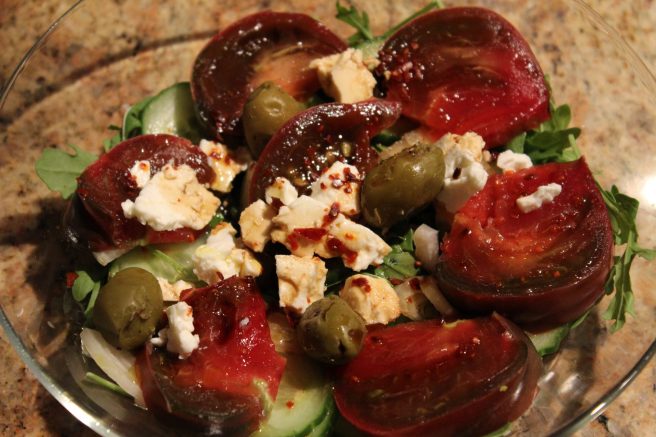
Harissa Chicken with Leeks, Potatoes and Yogurt 
Yield: 4 servings
Ingredients
4-6 chicken thighs (depending on size – about 2 pounds) on the bone and with the skin
1.5 pounds of fingerling potatoes, sliced in half lengthwise
2 teaspoons Kosher salt
1/2 teaspoon Aleppo pepper (You can use cracked black but I really encourage you to buy the flavorful, citrusy Aleppo pepper)
3 Tablespoons EVOO
2 Tablespoons harissa or to taste
1/2 teaspoon ground cumin (Grind your own if you can!)
2 leeks (white and light green parts only) washed, trimmed, sliced in half lengthwise and then thinly sliced
Grated zest of one lemon
1/4 teaspoon Kosher salt
1.5 Tablespoons EVOO
1 cup plain Greek yogurt
Juice of 1/2 a lemon
1 garlic clove
1/4 teaspoon Kosher salt
1/4 teaspoon Aleppo pepper
1/4 teaspoon ground sumac (optional but really good)
1/4 teaspoon ground cumin
1 cup chopped fresh herbs, divided in 2 (I used a combination of dill, mint and parsley)
Juice of 1/2 lemon
Directions
- Place the first seven (7) ingredients in a one gallon freezer bag along. Seal the bag well and gently smush everything around to distribute the seasonings. If you are anxious (I was) place the bag inside of a second freezer bag and put it in the fridge for at least 4 hours and as much as one day.
- Place the next 4 ingredients in a one quart freezer bag and seal it well. Gently smush the leeks around to distribute the zest, salt and EVOO. Refrigerate along side the chicken.
- When you are ready to cook, cover a sheet pan with 2-inch sides with heavy duty aluminum foil. Preheat the oven to 425 degrees F.
- Place the chicken and potatoes on the pan in a single layer along with any liquid. Roast for about 20 minutes. Then scatter the leeks over the chicken and potatoes and roast for an additional 20 minutes or until everything is golden and slightly crispy.
- In a small bowl combine the yogurt and all ingredients (Only half of the fresh herbs) keeping the final 1/2 lemon and the other half of the herbs for garnish. Stir with a small whisk or fork.


